Showing posts with label art. Show all posts

Tuesday, May 14, 2013

Birthday Stats Signs

Birthday Stats Signs are now for sale in my shop (click HERE).  They're hand painted and sure to add color and something extra special to your next party. Enjoy!

Tuesday, March 5, 2013

working on our eggs

Sometimes you can be fancy and dye your Easter eggs or glitter them. And sometimes you can draw on them with a sharpie marker and call it a day.

Thursday, February 14, 2013

be still my happy heart
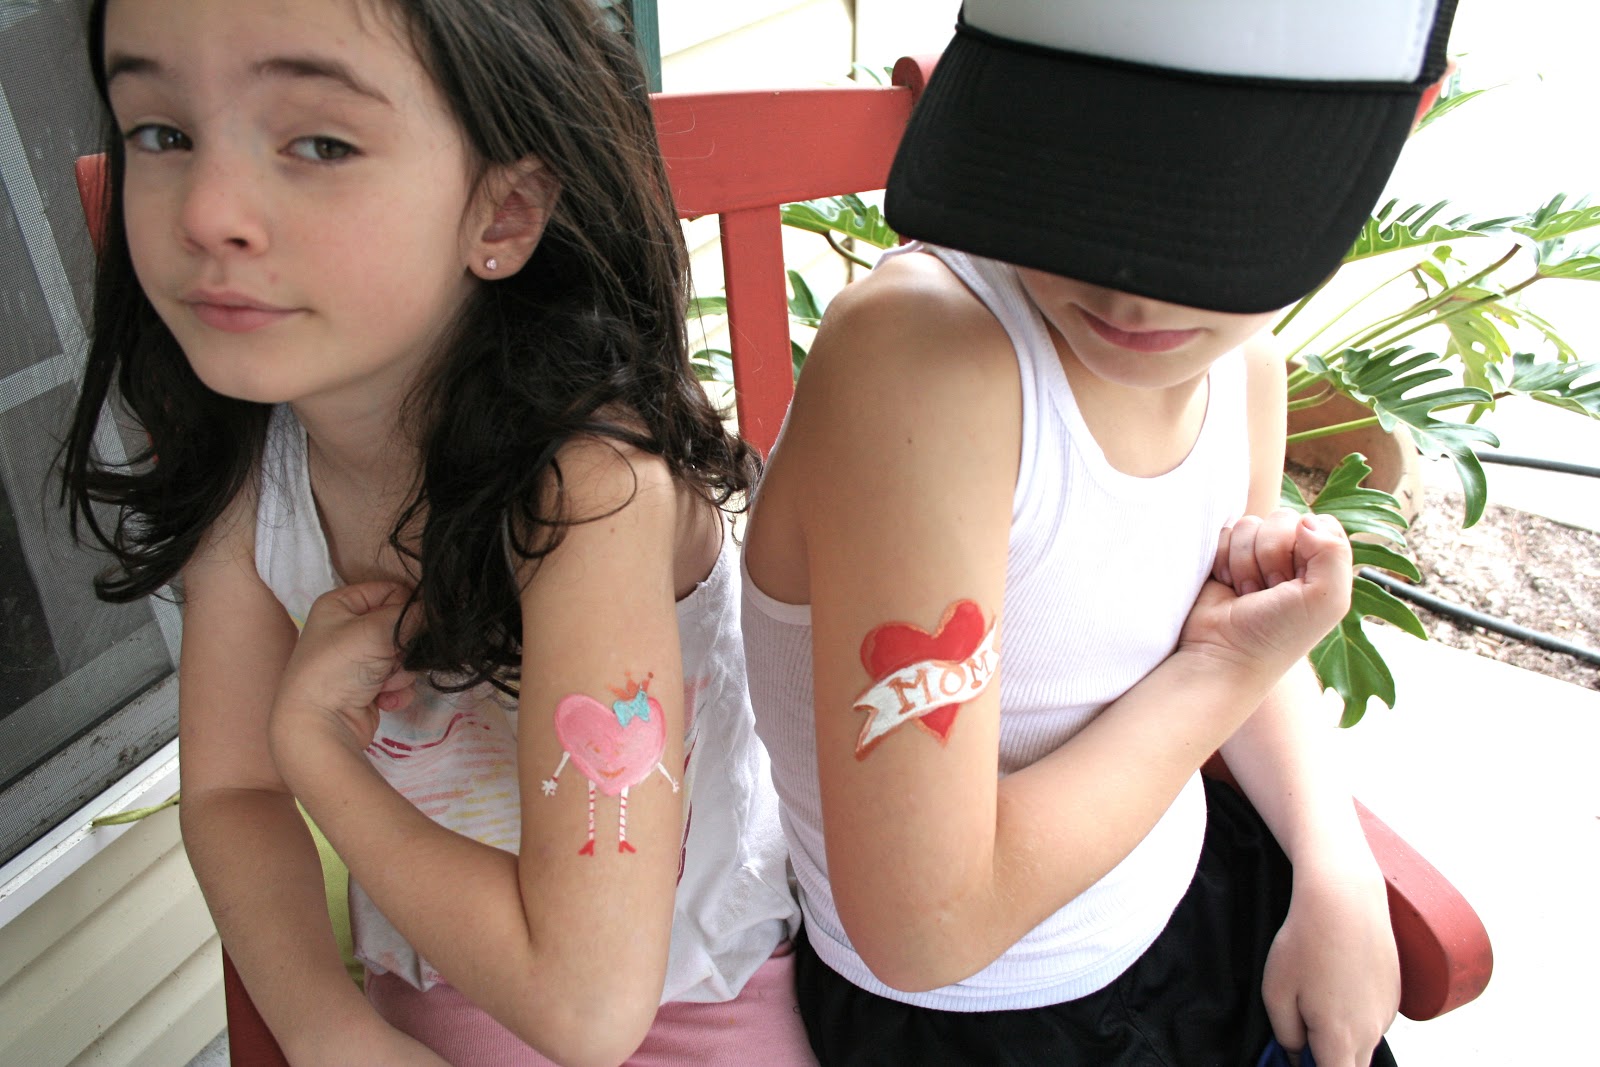
Happy love, heart day to everyone! We've been celebrating since Tuesday with hand-painted tattoos and card making and story telling. It's pretty festive around here. I hope your Valentine's is fun and pink and full of 88% pure dark cocoa.

Tuesday, August 14, 2012

burlap wreath

I made a wreath for our front door. I looked and looked for one to buy at the store, but everything was either super tacky or super expensive. I was looking for something simple, neutral in color, summery, and different from everyone else's front door wreaths. About one week before baby Hal was born, I ventured out to our local fabric store and purchased various colors of burlap, a straw wreath, and other wreath-y things.

With a darker color of burlap, I cut out the shape of a baby shirt and painted it with acrylic paint. Painting on burlap is very easy, just make sure you have something underneath the burlap so you won't get paint all over the floor of your garage. *Burlap has lots of holes... incase you were wondering.*
I rumpled the white burlap all around the wreath. Use hot glue to attach your rumples here and there around the wreath. *This is the itchiest thing you will ever do in your life. Burlap is itchy... incase you were wondering.*
I couldn't find a ribbon to hang the wreath that matched the vision in my head, so I used half a yard of white fabric with tiny blue dots. I love a big bow. Don't be afraid to make a burlap wreath and hang it on your front door!

Saturday, July 14, 2012

a sneak peek into baby's room

Here's a first look into Baby Quattro's room. It's almost finished. I will add more happiness to the walls after the little precious thing decides to come out and meet all of us. My mother made the crib bumper and curtains to match. Like, she MADE it. With her own two hands. I also painted two big paintings for Baby Quattro...
Many more photos to come of this sweet little space. Now come on, Quattro, don't make me come in there and get you out.

Tuesday, May 15, 2012

kid's room art display

The new "big kid sleeping room" is still a work in progress. The ceilings are pretty tall in there so it's difficult figuring out what to do with all that space. I'm slowly taking one corner to display art work and pictures that have been scattered throughout our home. I spray painted a few dollar store picture frames, cut out some cardboard, and put together the beginnings of a wall collage. I LOVE cluttered walls and sometimes it's hard for me to stop so I must limit myself to one wall and/or small area.
How do you display art?

Saturday, April 7, 2012

happy easter


He is risen. He is risen indeed.

Friday, April 6, 2012

decorating easter eggs

I drew faces on a few boiled eggs and the kids made hats for them. Dean was a little sad that his pirate egg person couldn't hold a sword, but I'm sure he'll be o.k. I used a felt tip marker to draw the faces. EASY! I also let the kids go to town drawing on a few eggs with crayons. Also very easy and I didn't have to buy the egg dye from the store. What do your eggs look like? Happy Good Friday.

Friday, March 16, 2012

art on the walls

Dean moved in with the girls. That calls for new paintings! I will show you the finished room very soon. Promise.
Since I never buy canvases at the store, I find junk from around our house, and/or garage, and/or neighbor's trash, and/or charlie's wood burning pile from the backyard. These paintings are done on scrap plywood. I think they are lovely.

Tuesday, November 1, 2011

cardboard and duct tape

Charlie got his hands on a few enormous pieces of cardboard over the weekend. So of course we gathered all our various colored rolls of duct tape and started assembling the coolest clubhouse EVER! It is really the coolest... and the biggest. It pretty much takes up half of little Dean's bedroom. That's all boys need in their room... a bed and a clubhouse... and a plastic container full of legos right? Right.
We put his little t.v. inside and a rug to make it cozy. All three kids slept in the clubhouse Saturday night. So much fun. Hope your kids get to play in a cardboard box someday... it's what all the cool kids do.

Monday, September 12, 2011

egg paint

We did an art history lesson today about artists from the 1200's who made their own paint. They mixed berries or minerals or dried insects with egg yolks to make a bright tempura paint.
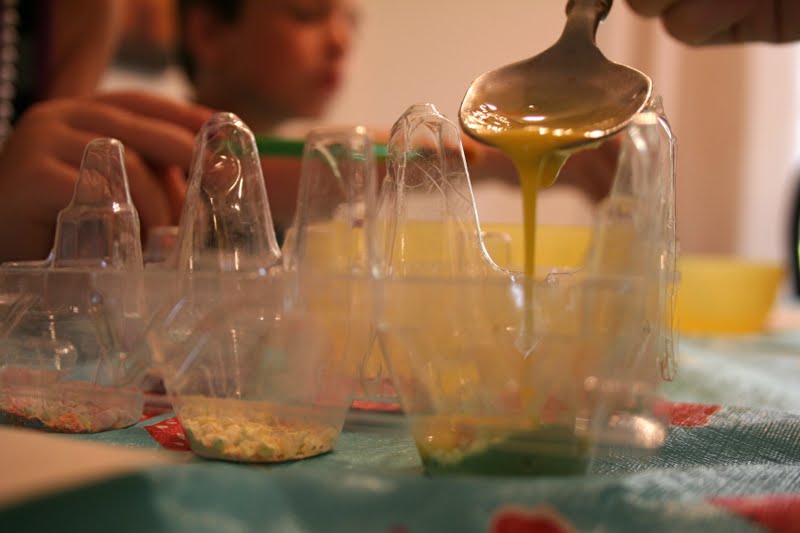
Here's how we made our own paint. I mixed three egg yolks (I ate the the whites for breakfast and kept the yolks aside for this project) with 2 teaspoons water. I "forked" it (which is what little Dean calls whisking) until it was frothy.  Then we went outside and found two good rocks.
I filled an empty egg carton with colored chalk and let the kids crush the chalk with the rocks.
Then I spooned small amounts of the egg yolks into the crushed chalk and the kids stirred with a paintbrush. Then they painted pictures on newsprint paper.
Little Dean made a family of dinosaurs and Millie g. made flowers. Egg painting is fun.

Friday, September 9, 2011

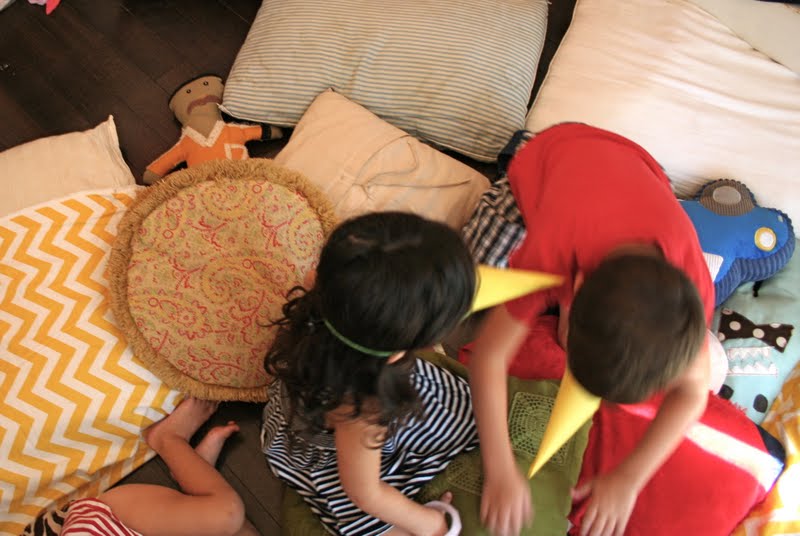
they wanted beaks

The conversation went like this...
Me: (unloading the dishwasher, kids run in)
Kids: "Mommy, can you make us some beaks?"
Me: "what kind of beaks?"
Kids: "bird beaks."
Me: "YEP." (left the dishwasher open, went to get construction paper and tape)
Me: (cutting, taping) "So why do you guys need beaks?"
Kids: "because we made a nest out of all the pillows from everywhere."
Take a break from the dishes and make a beak. Happy weekend!

Friday, February 4, 2011

homemade blocks

We had a lot of scrap wood in our garage from recent home projects. Charlie piled it up to throw away, but the pile looked very beautiful to me... so we kept it. I decided to recycle the scraps into fun building blocks for the kids.
I sanded each block, painted each one, sanded again, then sprayed them to death with polyurethane. The result? A handsome stack of one-of-a-kind building blocks. Perfect for towers, roads, castles, etc. This project cost zero dollars. Boo-ya budget.

Thursday, September 23, 2010

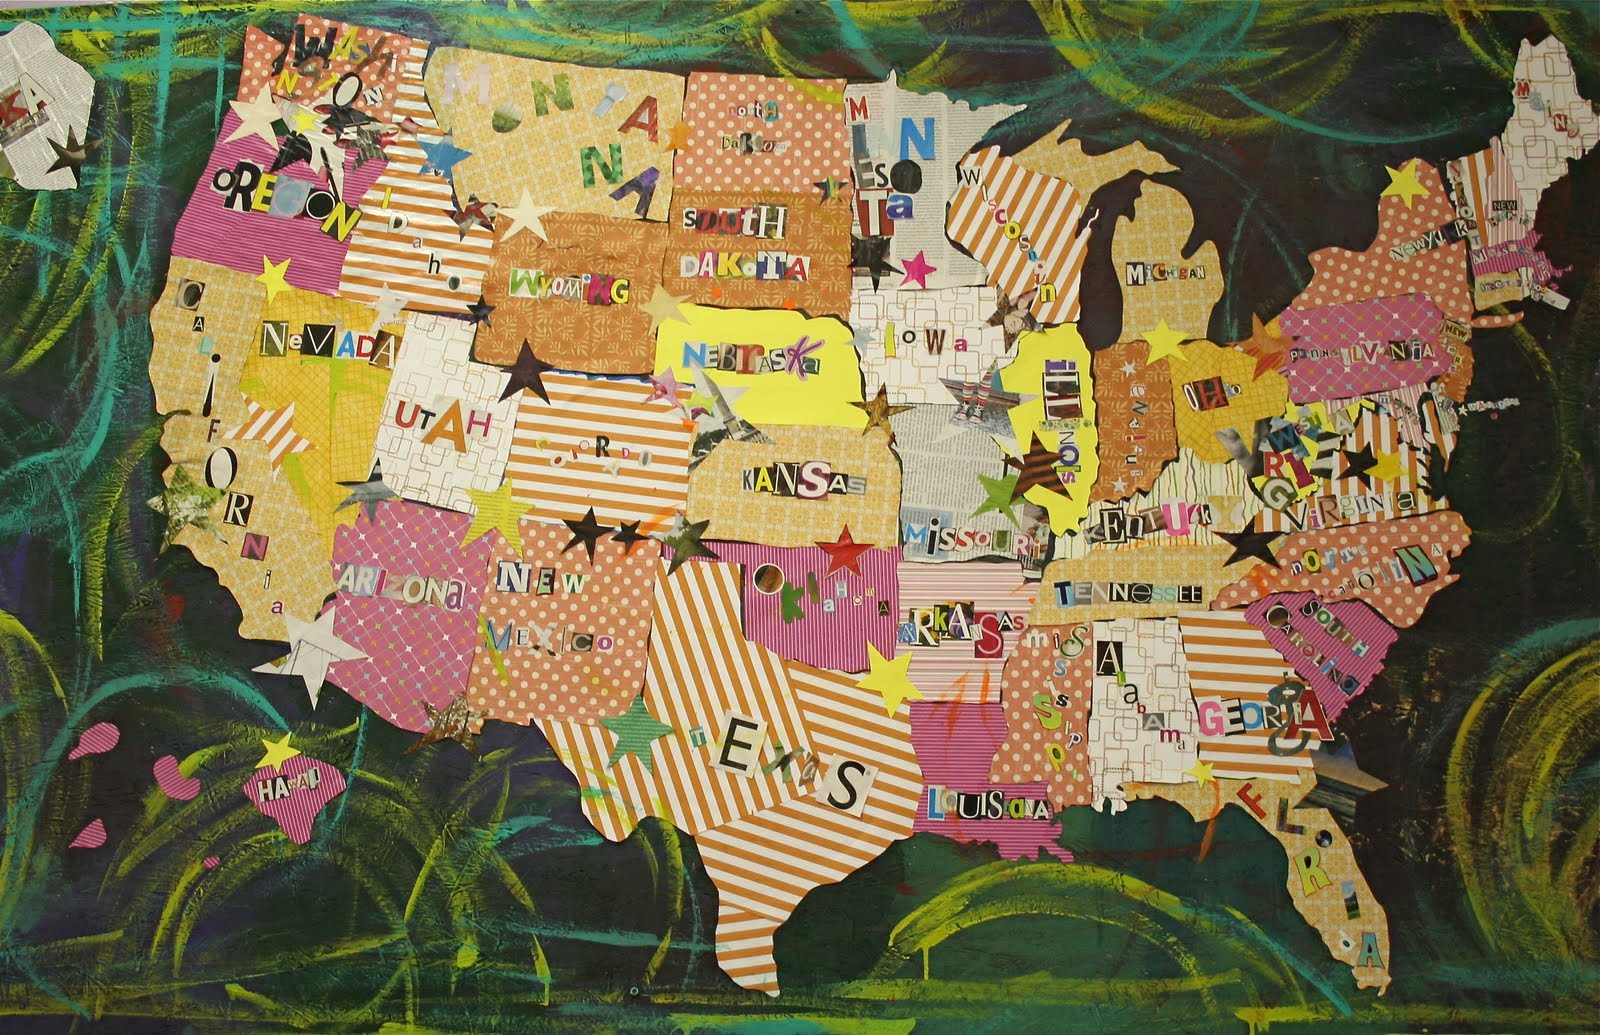
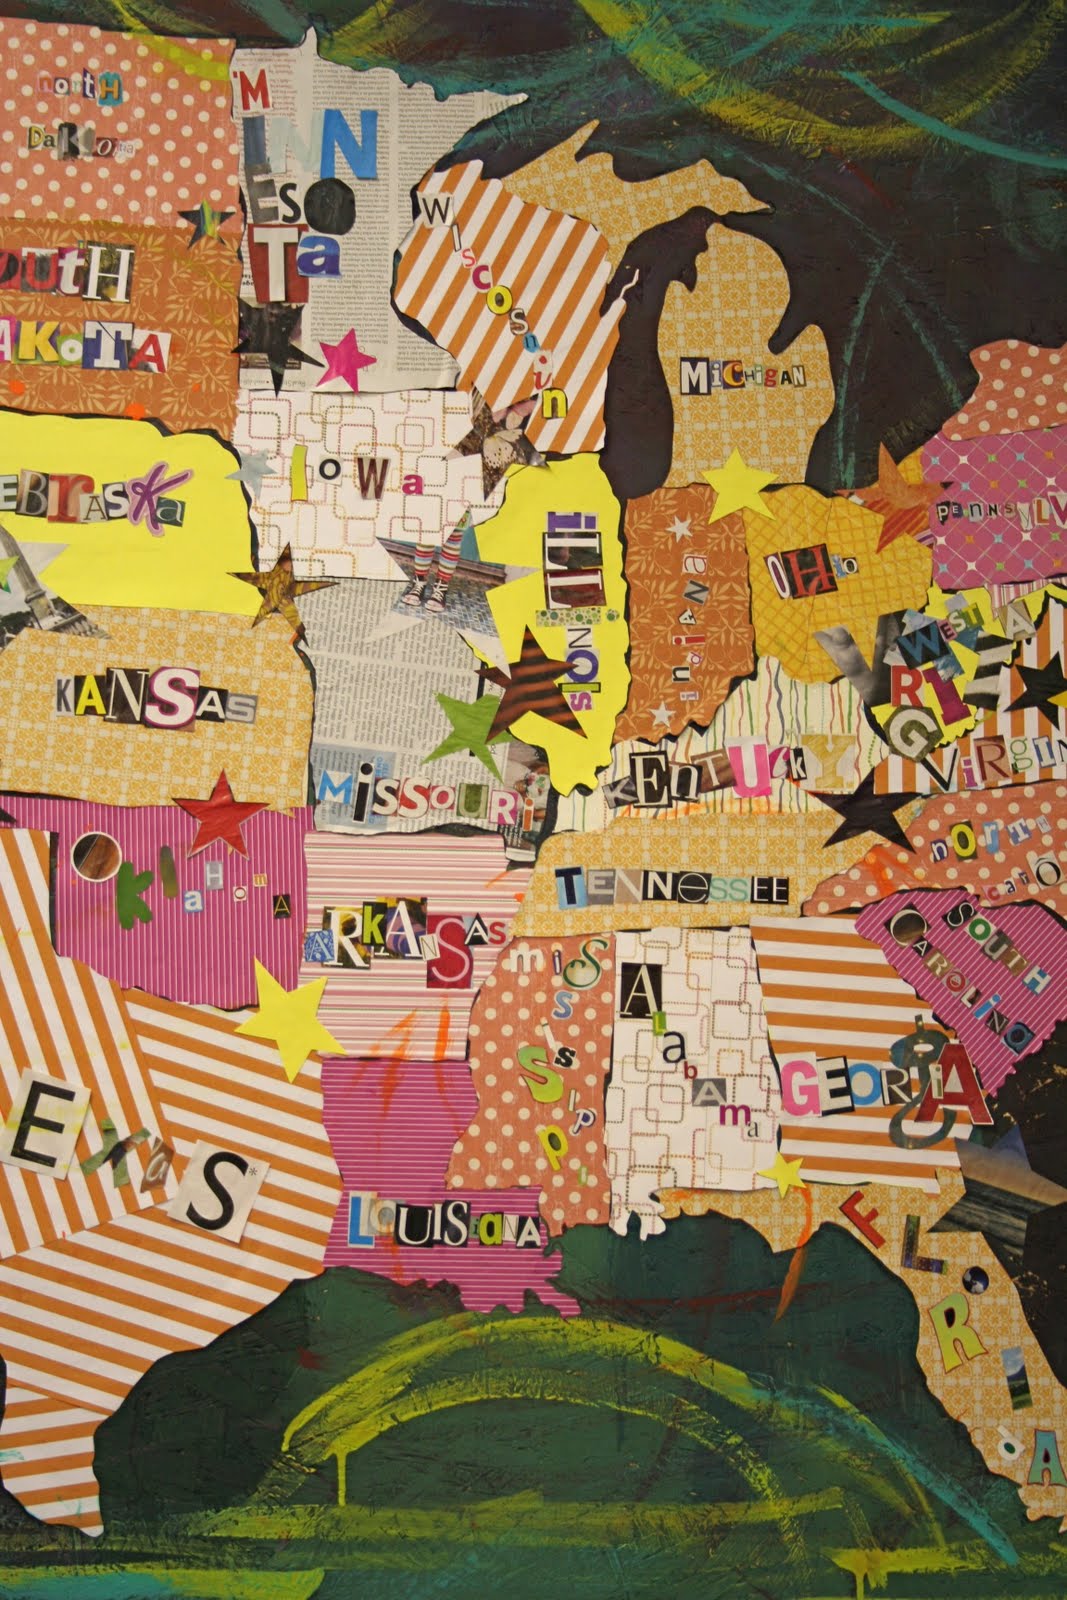
we made a map

Sometimes you need to take a whole week during your geography lesson to make a map that is the same size as your wall. It just needs to happen. We know all our states now.
It was a great week at school.

Tuesday, August 3, 2010

art journaling


Just a few friendly reminders to myself from my art journal...

It's good to look back at these pages. Hope your Tuesday was bright.